ZYLIA Studio – quick setup guide
Step 1.
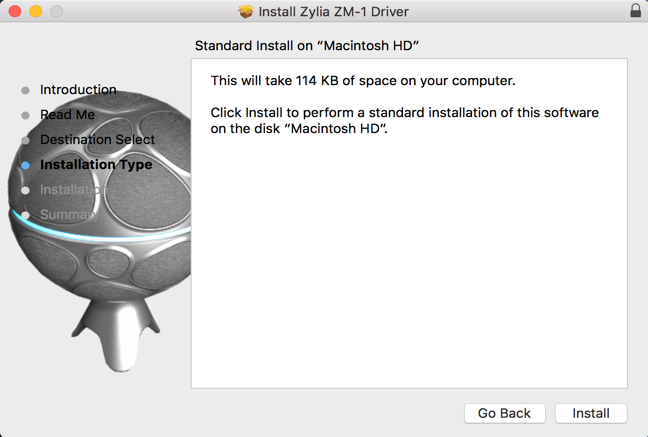
Installation
Download and install ZYLIA Studio software and ZM-1 microphone driver for
your operating system (macOS, Windows or Linux). You will find them here.
Step 2.
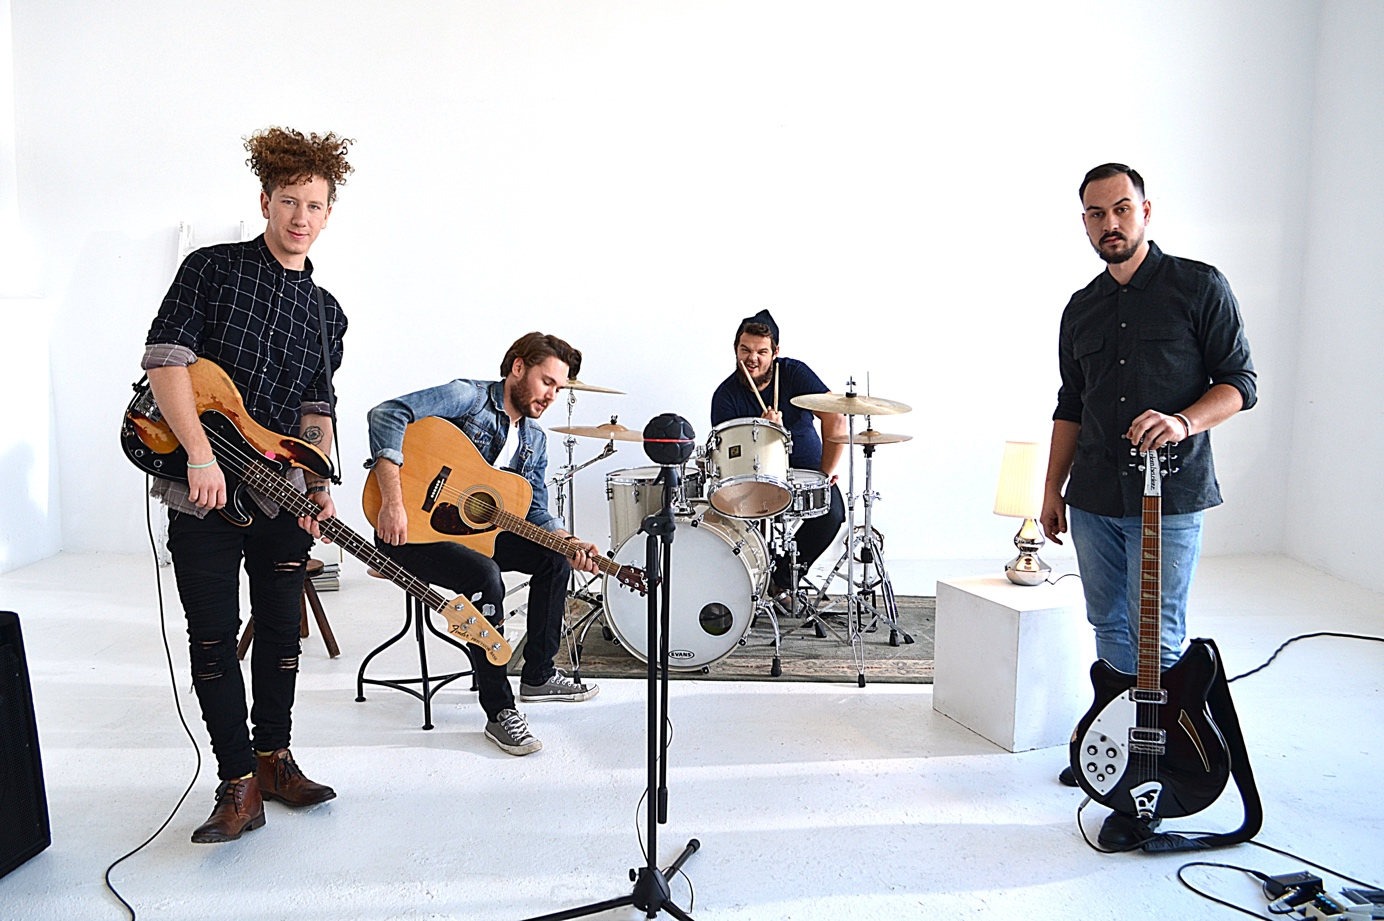
Place the ZM-1 microphone in the middle of your music scene
You can read more about ZYLIA ZM-1 placement here.
Step 3.
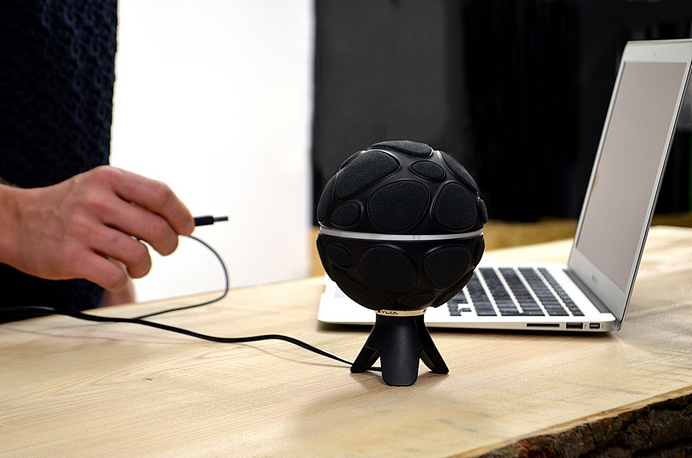
Plug the ZM-1 microphone into your computer using the USB cable
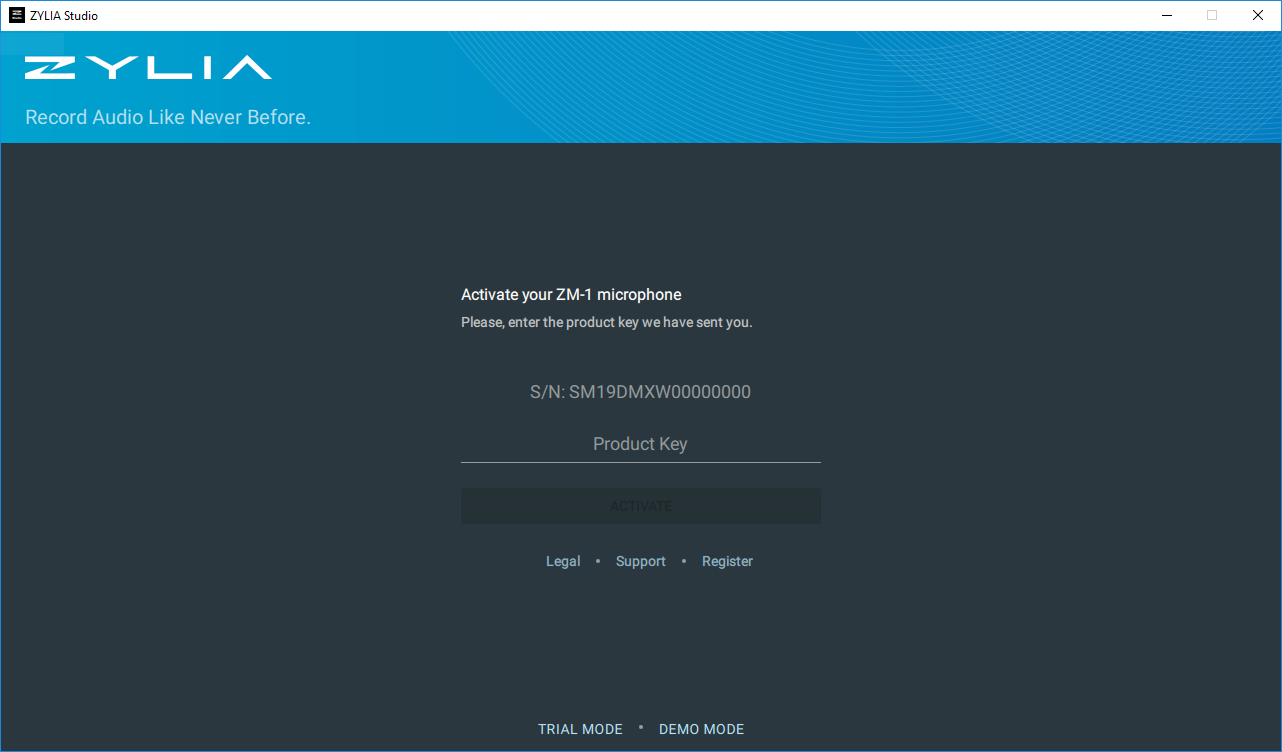
Step 4.
Run ZYLIA Studio application
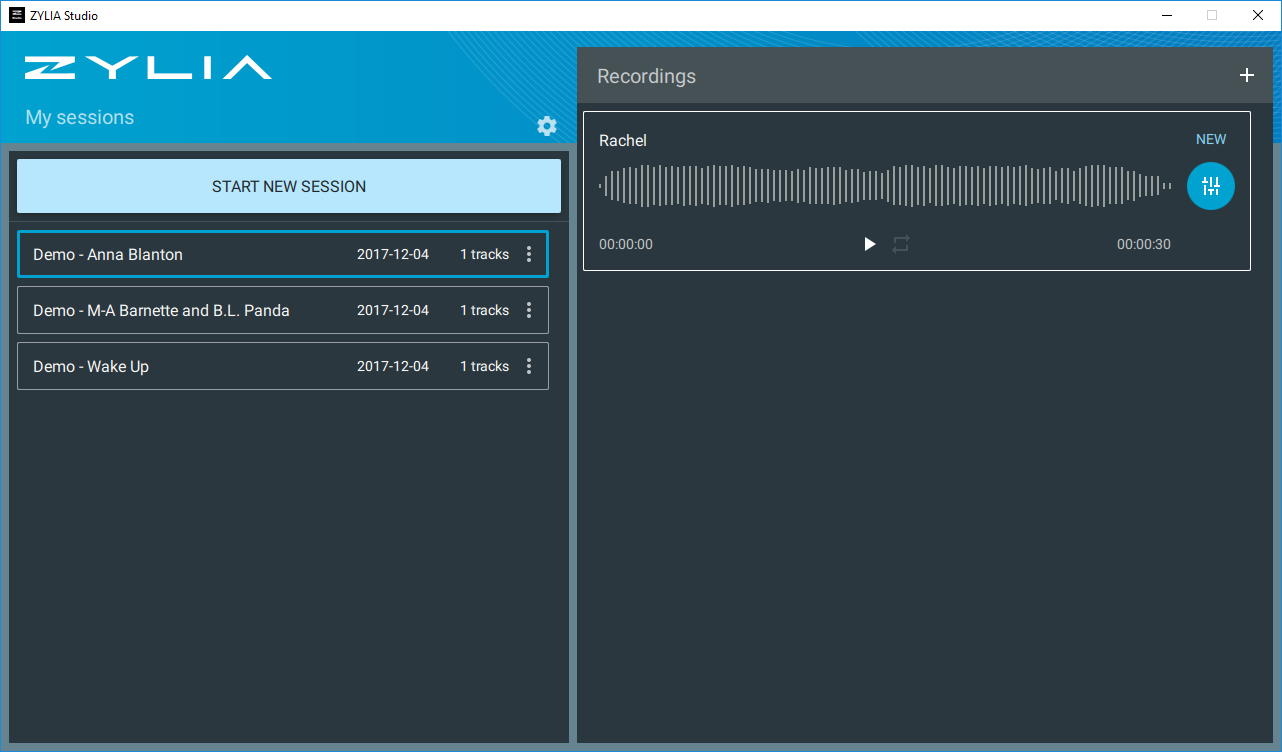
Step 6.
Start a new session
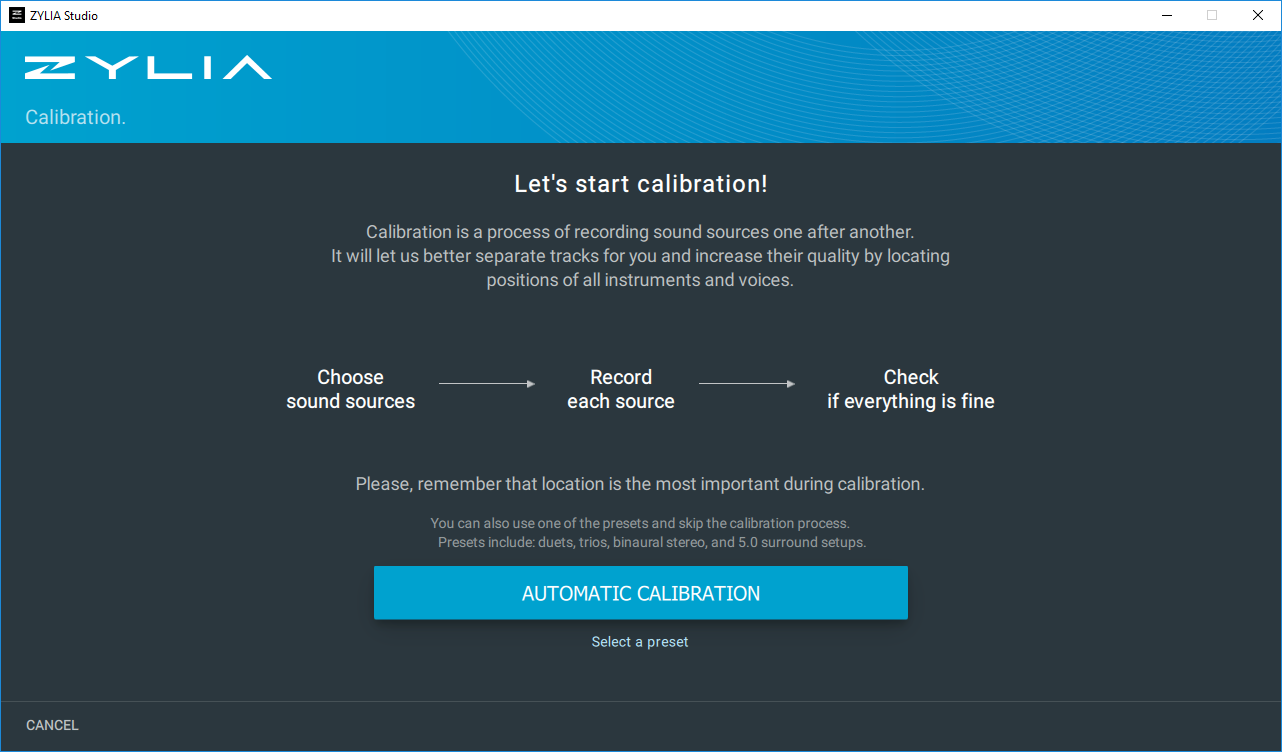
Step 7.
Calibrate your instrument’s position
Simply follow the instructions on the screen.
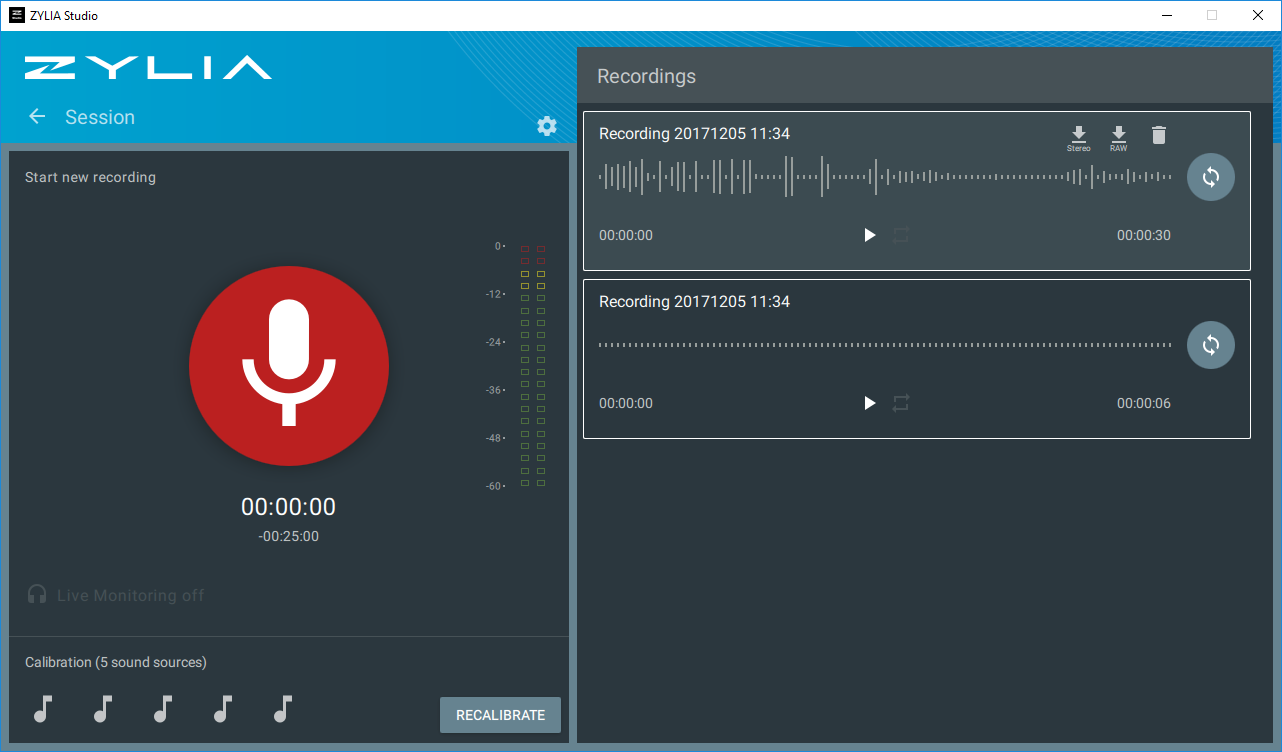
Step 8.
Record your session
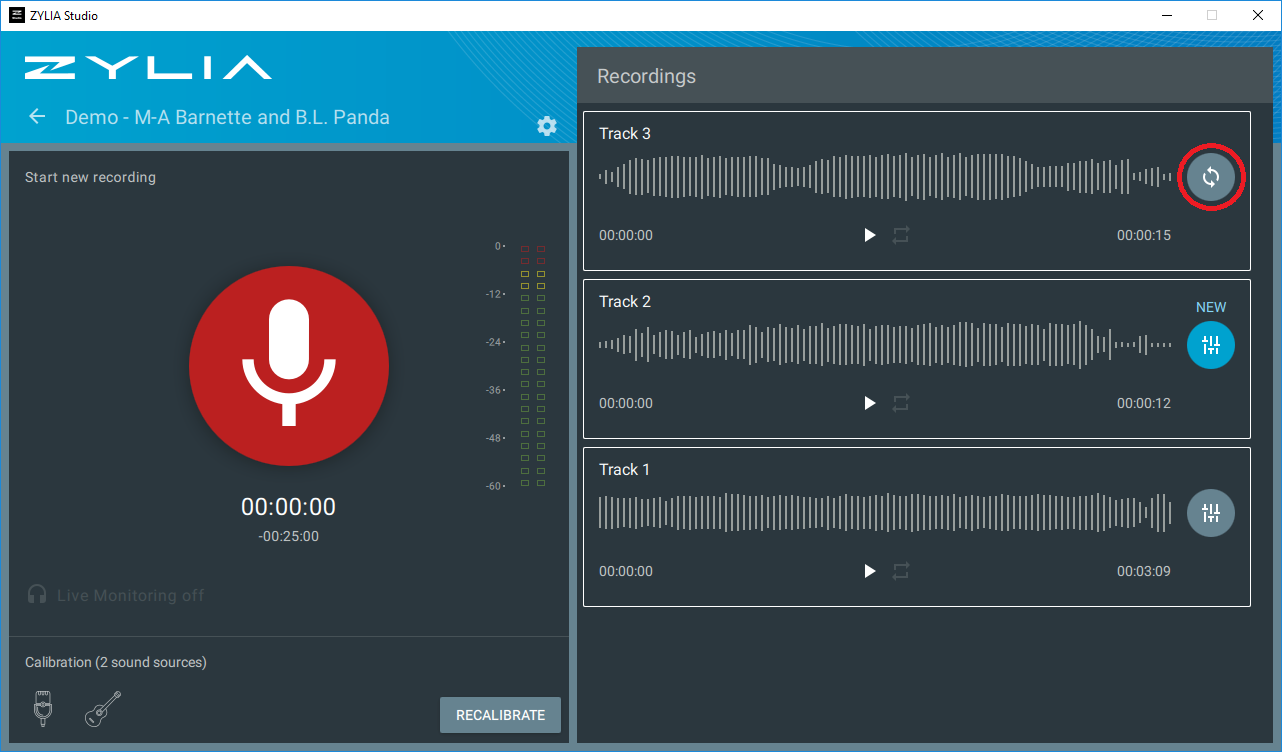
Your recordings will appear in the right panel. You can listen to a stereo recording by clicking
the Play icon. You can also export the stereo preview or the original WAVE file.
Step 9.
Run the track separation process
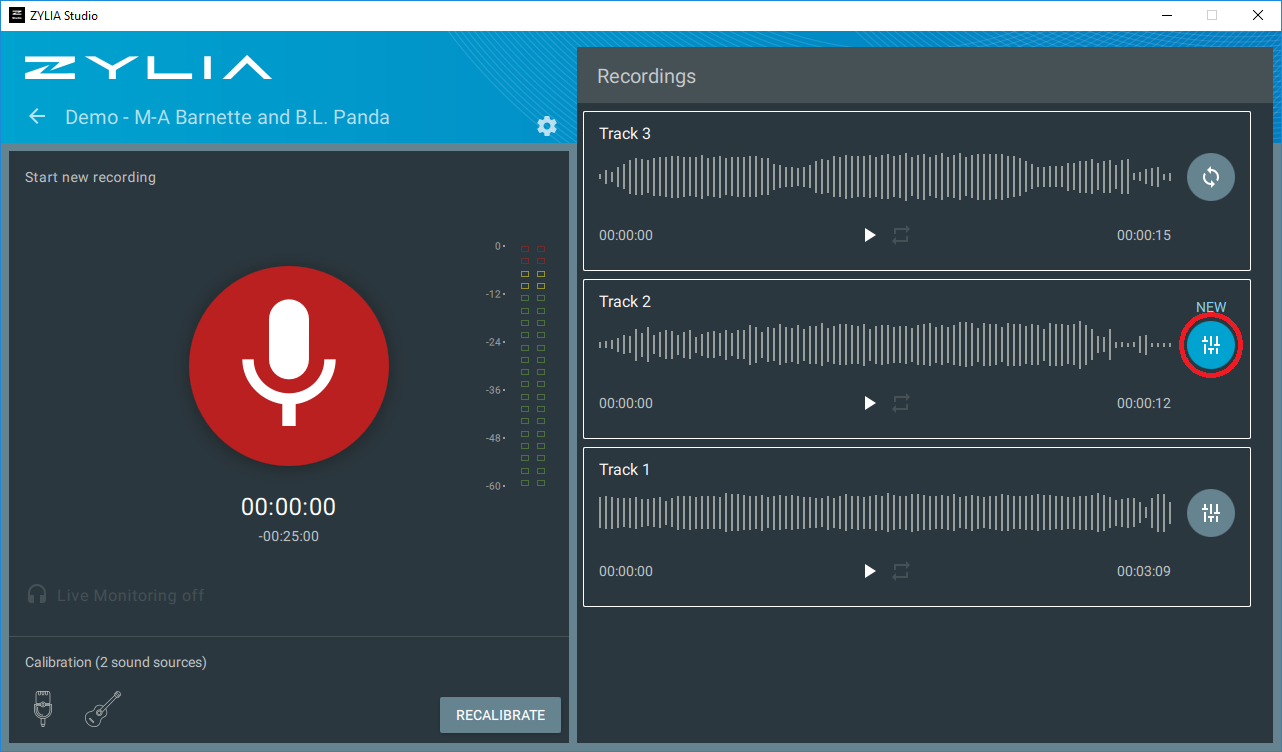
Step 10.
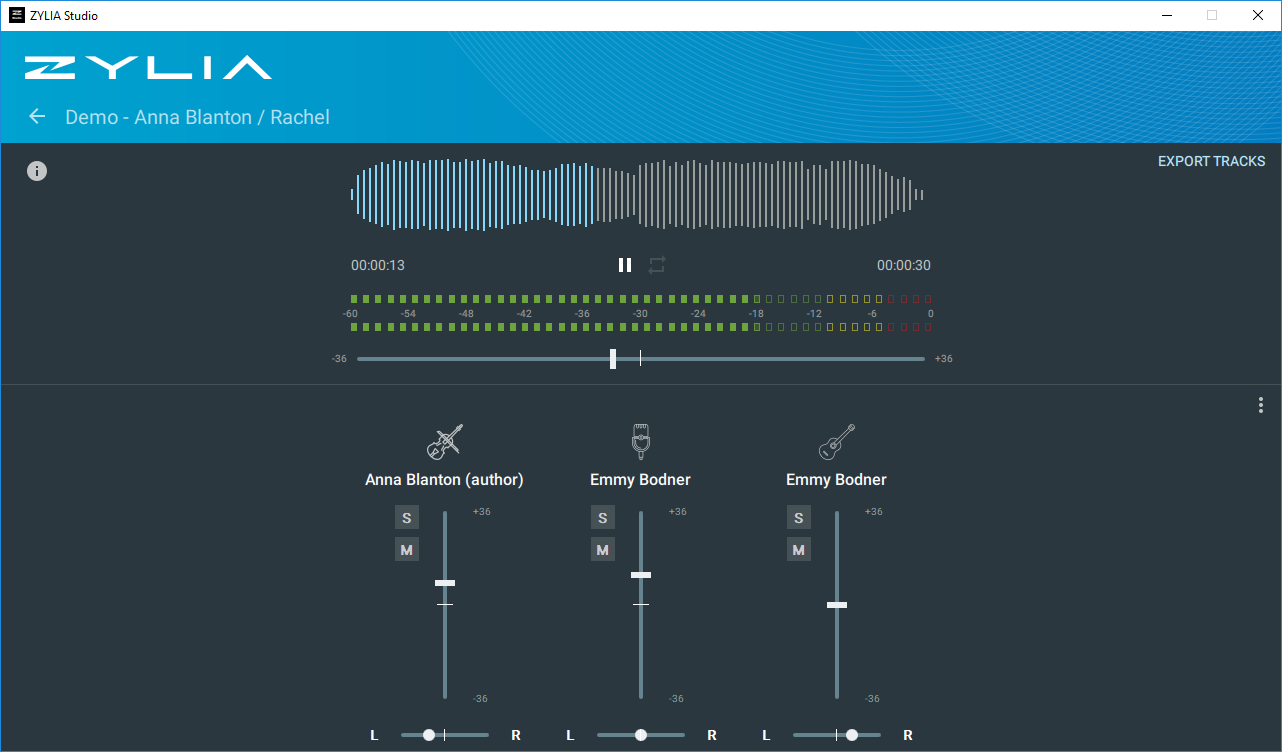
Mix your recording
In the Mixer Panel, you have access to the automixed recording. You can also increase volume, mute or perform panning of individual sound sources.
Step 11.
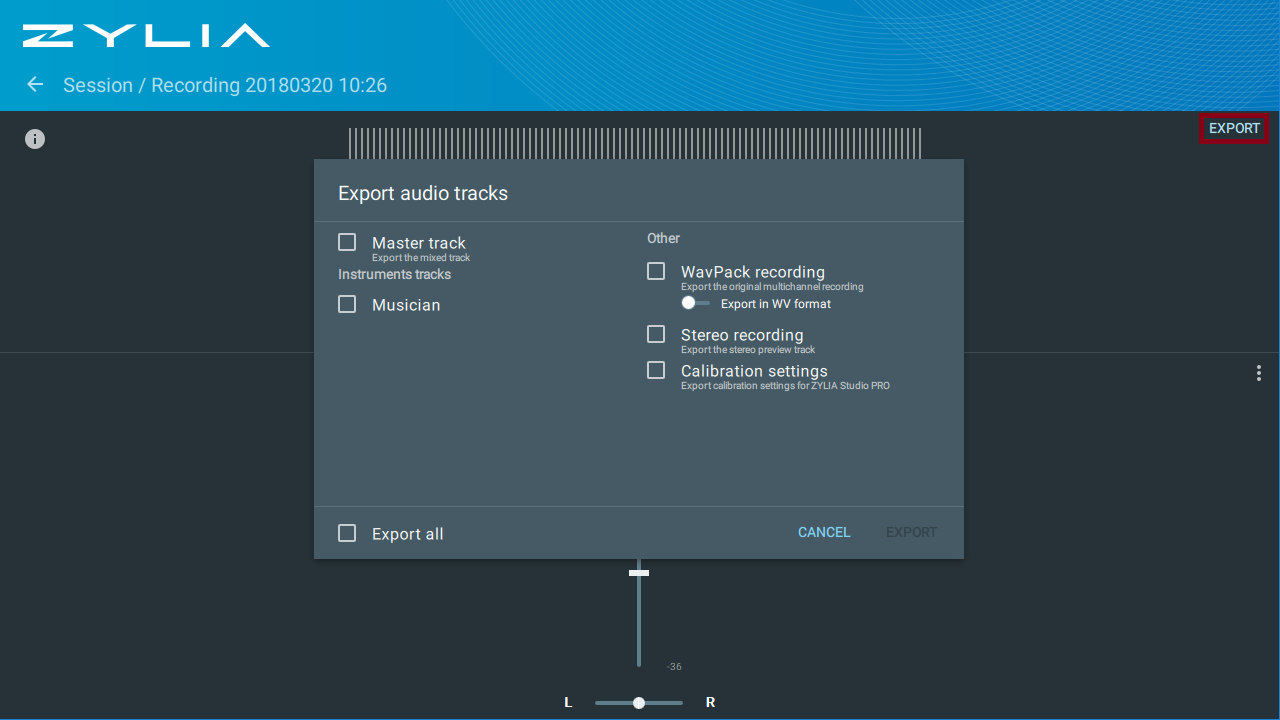
Export your recording
Use the Export button to download tracks of individual sound sources and your
final mix in WAVE format.